
How to Create 3D Prints Using Cura: A Step-by-Step Guide
3D printing has revolutionized the world by making manufacturing and prototyping accessible to individuals and businesses alike. When it comes to 3D printing, Cura serves as a reliable and efficient slicer that turns your 3D models into instructions for your 3D printer. This post provides a comprehensive, step-by-step guide for creating 3D prints using Cura.
Step One: Downloading and Installing Cura
The first step is to download Ultimaker Cura from its official website. Once you’ve downloaded the software, follow the on-screen instructions to install it. Ensure that your computer meets the recommended system requirements for the best performance.
Step Two: Setting Up Your 3D Printer
After the installation is complete, open Cura. You’ll be prompted to set up your 3D printer. Cura supports numerous 3D printer brands and models, so choose the appropriate one from the list. If your printer isn’t listed, choose ‘Custom’ and manually input your printer’s specifications.
Step Three: Importing Your 3D Model
Cura allows you to import 3D models in various file formats, like STL, OBJ, and 3MF. Click on the ‘Open File’ icon on the left of the screen and select your desired 3D model file. Once selected, the model will appear on the virtual print bed.
Step Four: Adjusting Print Settings
The next step is to adjust the print settings. Cura offers two modes: Recommended and Custom. The ‘Recommended’ mode provides basic settings, while ‘Custom’ offers advanced print settings like print speed, layer height, printing temperature, and more.
Step Five: Slicing the 3D Model
After adjusting your settings, you can now ‘Slice’ your model. Slicing is the process of converting a 3D model into layers that a 3D printer can understand. To do this, simply click the ‘Slice’ button. Cura will start converting your 3D model into a G-code file, which is a series of instructions for your 3D printer.
Step Six: Previewing and Exporting the Sliced Model
Before you start printing, you can preview the sliced model to see how your print layers will stack up. This is particularly useful for spotting potential print failures before they happen. When you’re ready, save the G-code file to your desired location or directly to your printer, if it’s connected.
Step Seven: 3D Printing
Lastly, send the G-code file to your 3D printer. You can do this either via USB, SD card, or WiFi, depending on what your printer supports. Make sure your 3D printer is correctly calibrated and set up before starting the printing process.
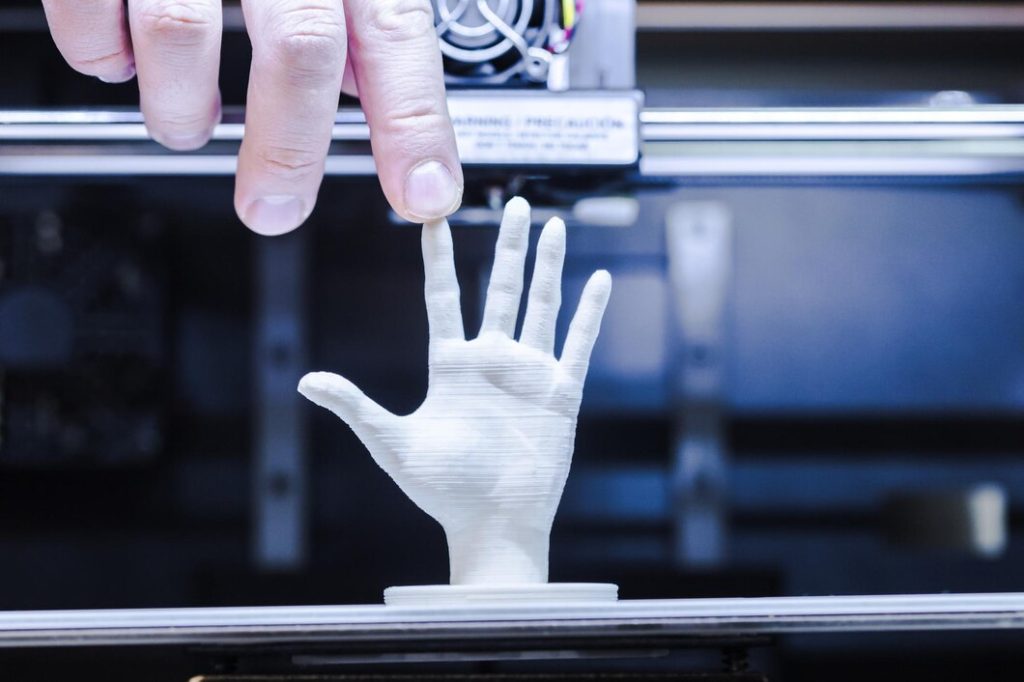
Once you master these steps, you’ll be able to turn your creative ideas into tangible 3D objects with ease using Cura. Remember that 3D printing is a process of trial and error, so don’t be discouraged if your first few prints aren’t perfect. With experience and adjustments, you’ll be capable of creating high-quality 3D prints. Here’s to successful 3D printing endeavors with Cura!

The articles you write help me a lot and I like the topic
I can tell that you could be right about this.