How to Build Perfect 3D Models using Blender
In a world dictated by 3 dimensions, creating 3D renditions is a beautiful way to turn ideas into tangible forms. Welcome to the magnificence of 3D modeling, and today we’ll discuss the apt ways to create perfect 3D models using Blender.
Blender, a free and open-source 3D creation suite, supports the entire 3D pipeline, offering functionalities for modeling, rigging, animation, simulation, rendering, composting, motion tracking, and even game creation. As powerful as it is, Blender can initially seem a bit intimidating. This article aims to simplify the basic workflow so you can get comfortable and be encouraged to explore further.

Step One: Establishing the Basic Structure of 3D Model
On launching Blender, you are greeted with an empty stage – a space meant for you to unleash your creativity. There are some factory settings in the interface which you can add to or remove as required.
To build a model, we first need a Mesh, which is added from the ‘Add’ button in the top menu with selection for ‘Mesh’. There are a variety of shapes to start with like Cubes, Torus, Spheres, Cones, and more. At this stage, choosing a fundamental shape that complements the ultimate form of your model would be wise.
Step Two: Refining your Model
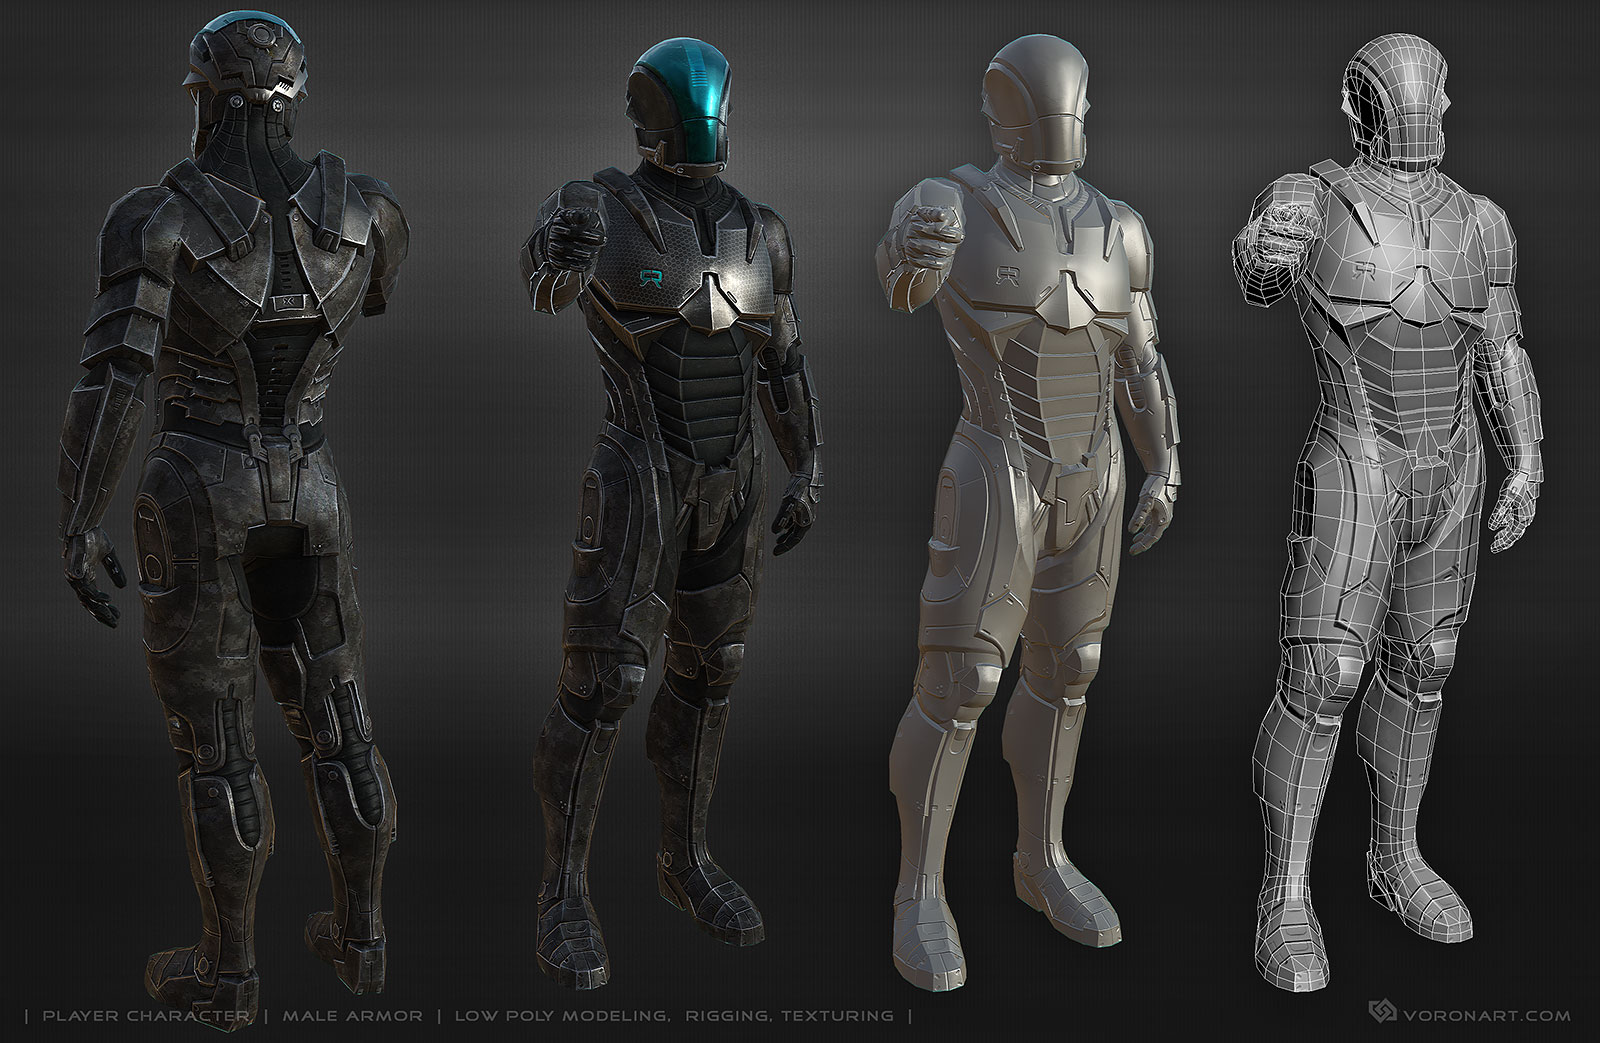
With a basic shape of the model set up, you can begin refining it with Edit Mode. The Edit Mode allows you to manipulate every constituent of the mesh individually – vertices, edges, and faces.
In Edit Mode, you will use a series of tools to modify your model, including Grab, Push, Rotate, and Scale. Additionally, Blender offers advanced tools like Cut, Loop Cut, Extrude, Bevel, etc. This stage might call for patience and innovative thinking but is also one of the most creative phases.
Step Three: Texturing and Coloring
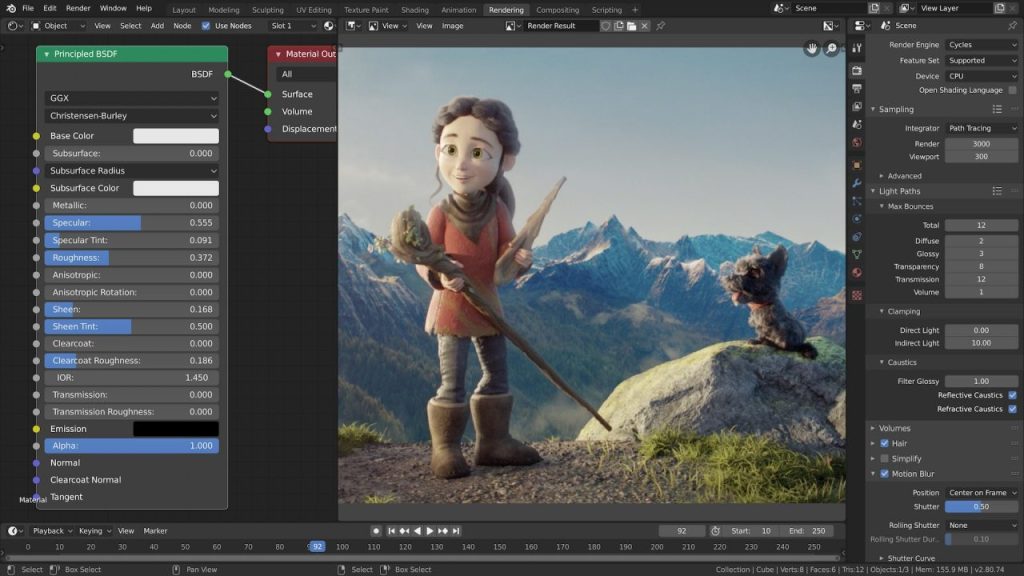
Once satisfied with the model shape, you can proceed to color and texture it. Blender provides a robust shading system that allows you to create intricate surface effects.
Select a material in the ‘Shading’ tab, and you can adjust its properties like color, reflectiveness, transparency, and more. For lending your model believable surface details, you can also add textures. These textures could be procedural (generated by the software) or Image textures (derived from real-world photos).
Step Four: Rendering your Masterpiece
Rendering is the final step of the process, aiming to generate a 2D image of the 3D spectacle. Blender offers various render engines, each with distinct qualities and advantages. You can select one that suits your preference and kick start the render.
The rendering might take a while, but the outcome is splendid. In case you aren’t content with the output, you can always go back and alter the model or settings. Ultimately, you are left with a striking image that parades your 3D artwork in all its glory.

In a nutshell, learning to create 3D models in Blender takes time and practice, but once you get the hang of the basics, you are destined to create exquisite and complex 3D models. We hope this tutorial guides you on your rendezvous with Blender and aids your creative journey. Happy Modeling!


