How to Optimize Your 3D Printing Workflow
With the advent of 3D printing, we’ve seen a fundamental shift in rapid prototyping, manufacturing, and even the creative arts. However, with this potential comes complexity. To maximally harness its capabilities and get the result you need, it’s essential to optimize your 3D printing workflow. Here’s a comprehensive guide to streamlining your process and improving the efficiency of your 3D printing projects.
Define Objective and Resources
Before delving into modeling or examining filament choices, first, clearly define your project objectives and assess available resources. This clarity helps you align your resources with your goals, addressing critical elements like print quality, turnaround time, and budget constraints.
Design with 3D Printing in Mind
The first hands-on step in your workflow is formulating your design. When working with 3D printing, it’s important to design for manufacturability. Keeping a tab on the constraints of your chosen 3D printing technology can help prevent issues such as overhangs, warping and reduce supports usage.
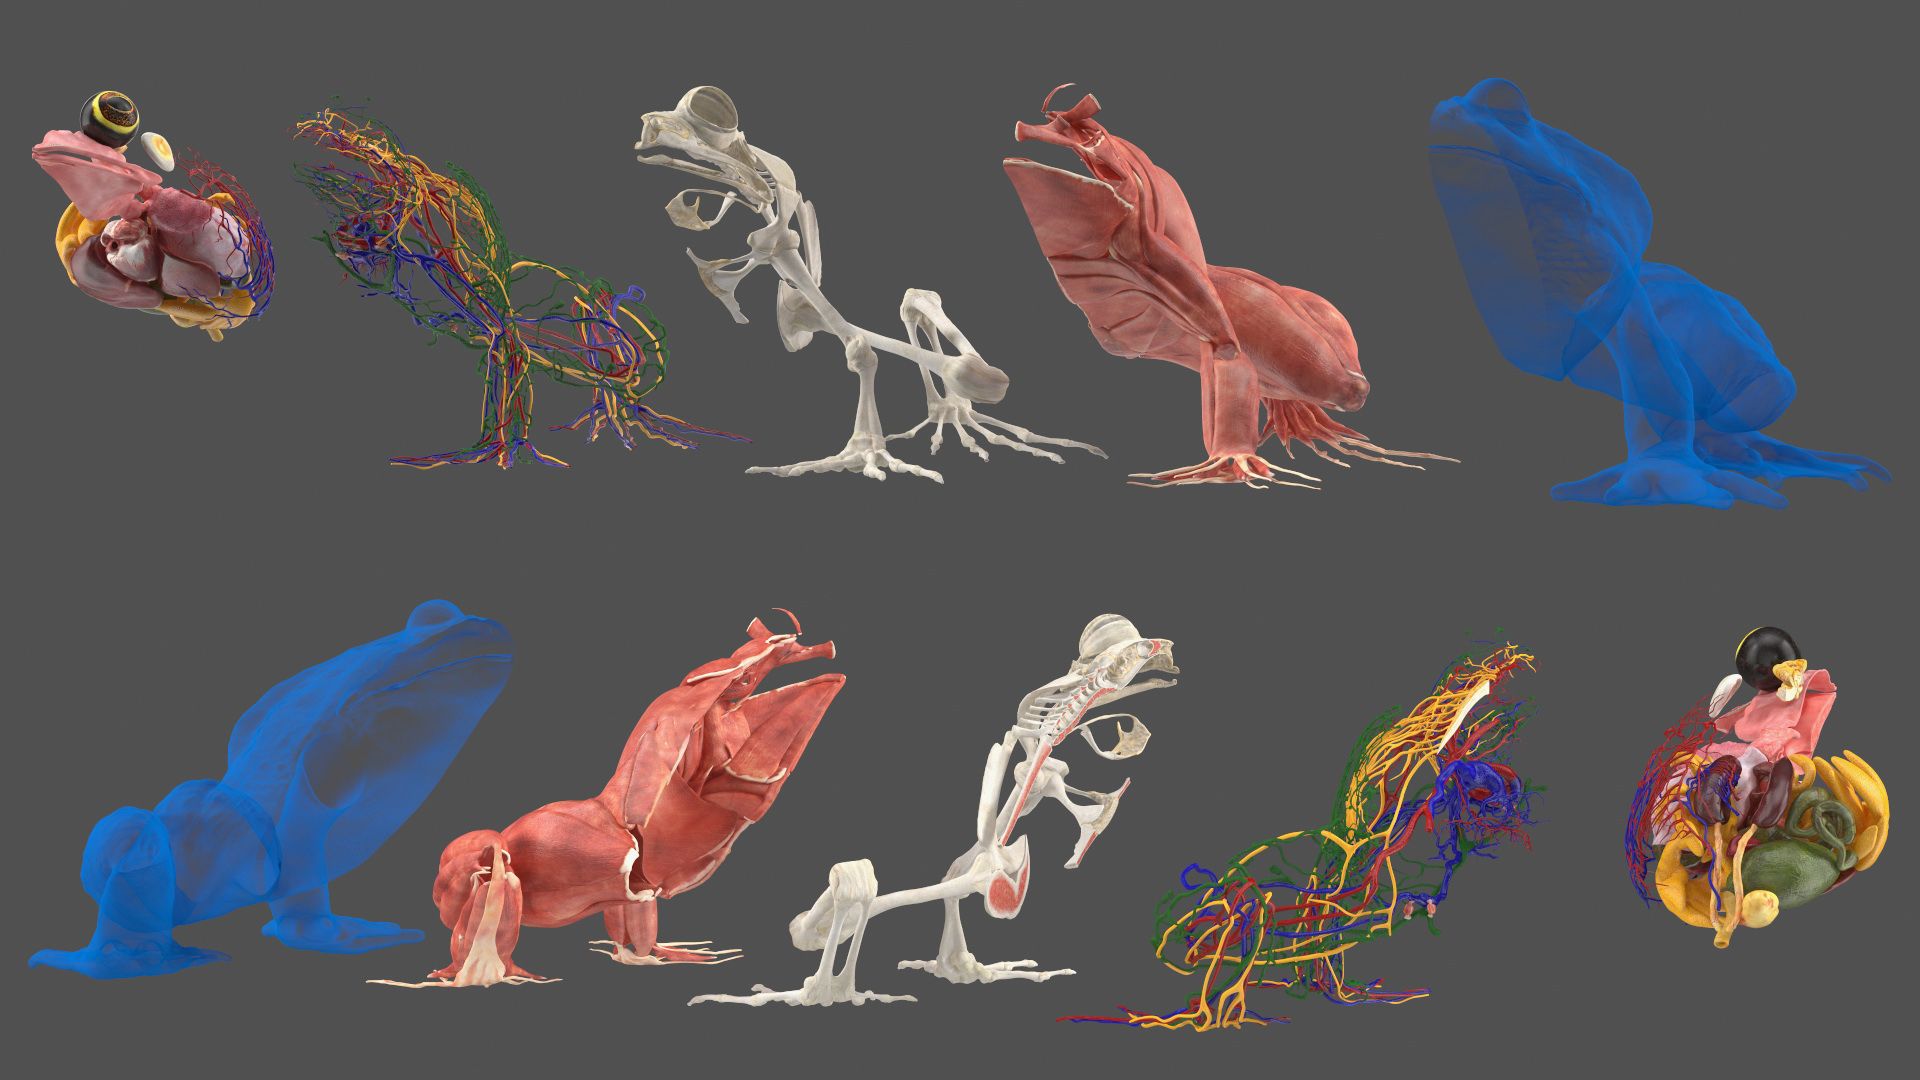
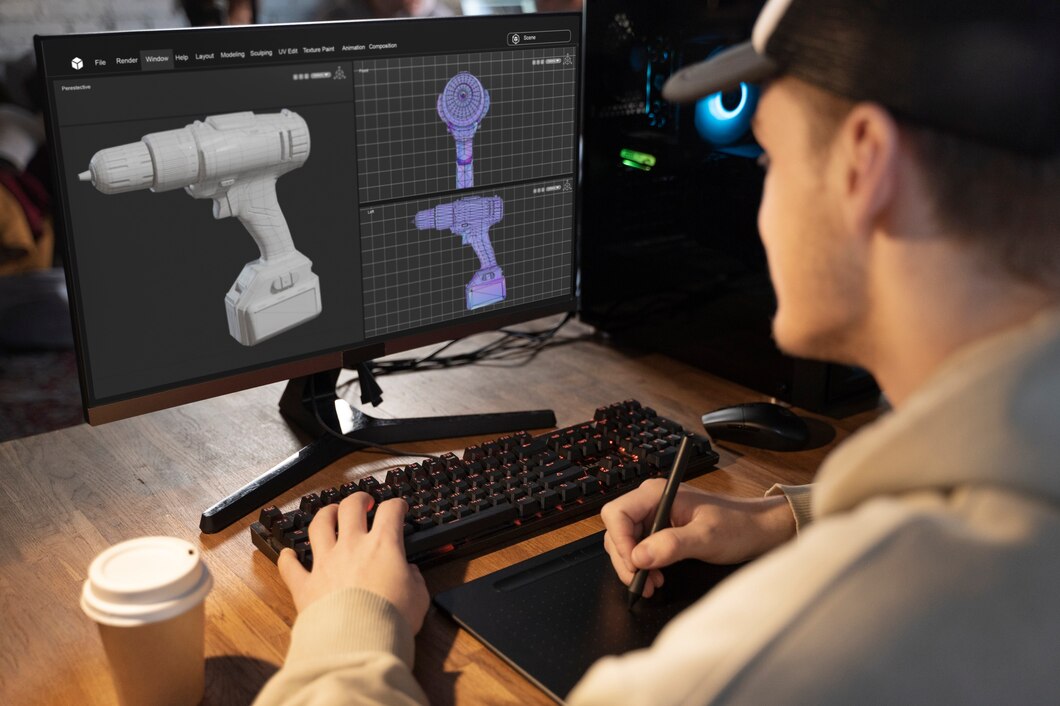
The Art of 3D Modeling
3D printing begins with a valid 3D model. Quality software helps streamline this stage. Whether you’re using CAD or sculpting software, ensure they can export files to a format compatible with your 3D printer (generally STL or OBJ). Remember that high levels of precision at this stage will translate into a higher quality print.
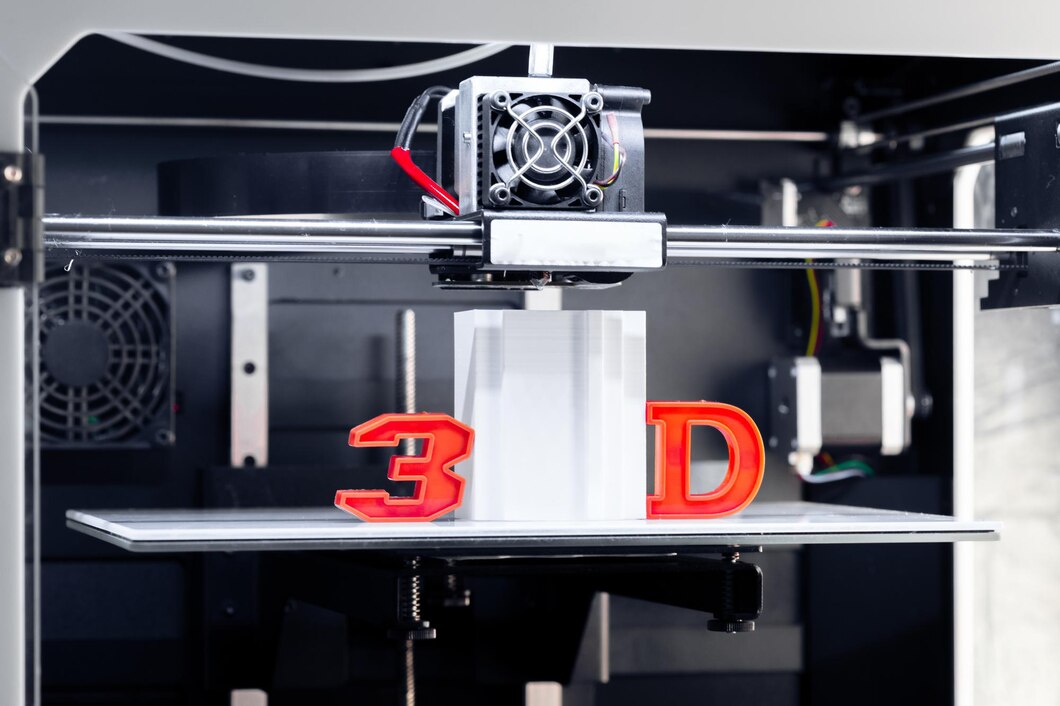
G-Code Generation: Slicing
Transforming your model into a language that your 3D printer understands involves slicing. Your slicer software slices the model into layers and generates the necessary G-code. This software also allows you to adjust the print’s parameters like layer height, print speed, and temperature settings. Spending time tweaking these settings can drastically improve print quality and speed while reducing filament use.
Select the Right Materials
Choosing the correct filament type and quality greatly influences the success of your print. While PLA might be an ideal choice for beginners due to its ease of use and low shrinkage, more heat-resistant and durable materials like ABS or nylon may be more suitable for mechanical parts.
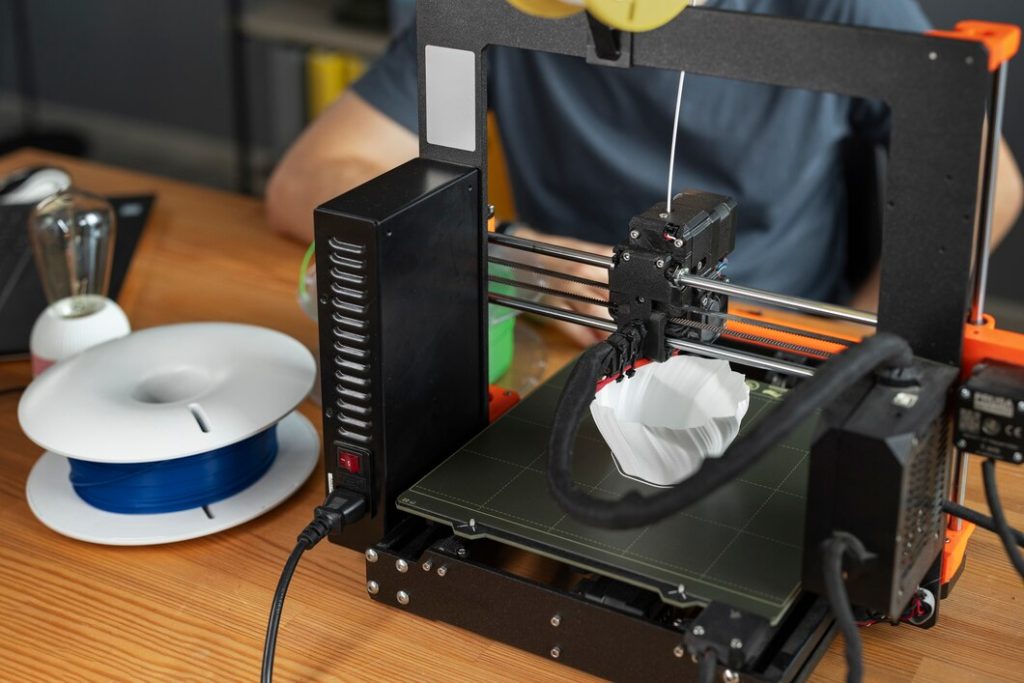
Maximize your 3D Printer’s Capabilities
Every 3D printer has its unique strengths and constraints that affect its operation. Understand its limitations and learn how to optimize for its capabilities. Calibration, whilst time-consuming, is vital. Regular maintenance also extends the printer’s life, keeps print quality at the highest level and reduces print failures.
Post-processing: The Finishing Touch
The post-processing step should never be an afterthought in your workflow. This stage involves support removal, surface finish work and sometimes, assembly. Investing time in this phase significantly improves your final print’s aesthetic and functional qualities.
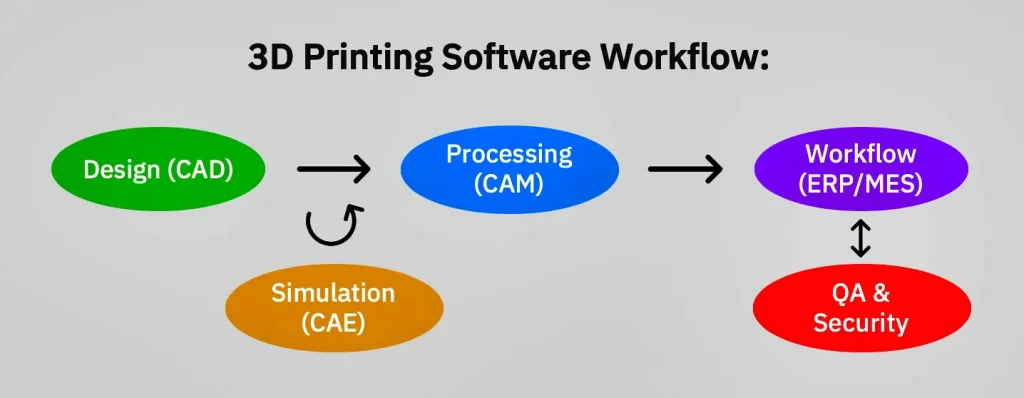
Workflow and File management
A good file management system helps keep the workflow smooth. Properly naming and storing files and keeping a record of successful print settings for each model can save considerable time for future projects.
Iterating and Learning
One of the beauties of 3D printing is the ease of iteration. Every print is a lesson that brings you one step closer to perfecting your craft. Make notes, tweak your process, and learn with each attempted print.
Conclusion
3D printing is not just a manufacturing process; it’s a journey of creation. Approaching it by carefully stepping through the workflow can enhance your output, reduce wasted materials, and generally smooth your path to a finished product. In this age of rapid prototyping and fabrication, efficiently streamlining your 3D printing workflow can give you an extra edge, whether it’s a race against time, a battle against costs, or a drive for impeccable quality.