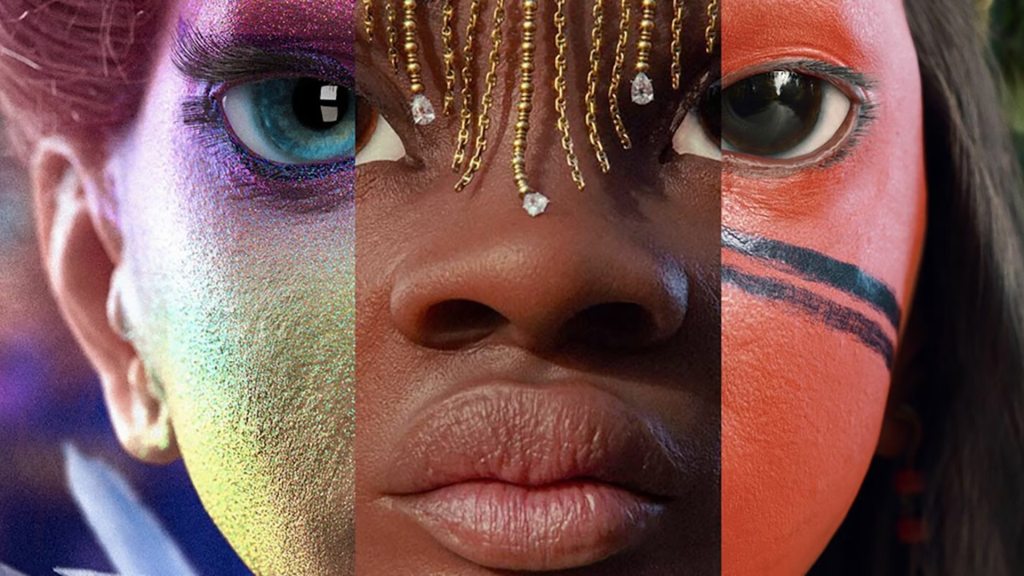
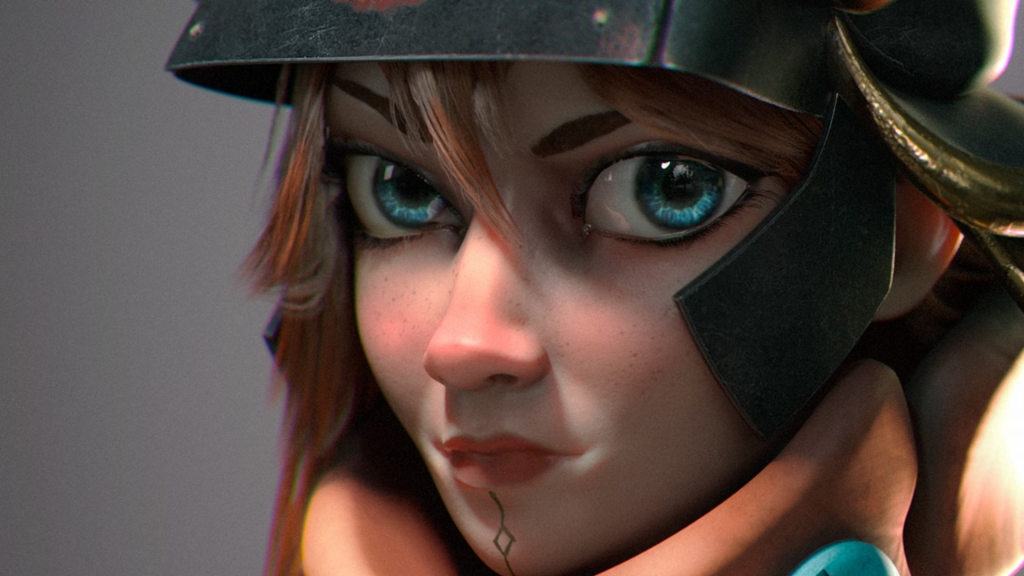
Unleashing ZBrush: Tips and Tricks for 3D Modeling
Exploring the infinite universe of 3D modeling, you will undoubtedly encounter a celestial body that has become a giant — ZBrush. Renowned globally for its intuitive workflow and innovative features, ZBrush is an all-encompassing sculpting tool used by hobbyists and professionals alike. This post will reveal some of the lesser-known tips and tricks for enhancing your 3D modeling skills within ZBrush’s extensive vicinity.
Mastering Basic Navigation
Understanding the fundamental navigation options of ZBrush is imperative for an efficient sculpting experience. Use the basic shortcuts: ‘F’ to focus on a subtool, ‘Tab’ to clear the interface, ‘Ctrl + Shift + Drag’ (outside the model) to clear the mask, and ‘~’ to quickly rearrange the tiles while working with the spotlight, and you’ll be zipping through your projects with ease.
Quick-Save ZBrush Projects
Frequently saving your progress is key to safeguarding your efforts. By hitting ‘9’ you can quick-save any ZBrush project, and to load your last quick-save, simply press ‘U’. This will make your workflow more streamlined and less fretful over losing any creative masterpiece.
Morph Target Utility
Morph Targets store a copy of your model’s state before any changes. This allows you the flexibility to experiment with your model and revert back if you wish. Use the ‘StoreMT’ option in the Morph Target sub-palette of the Tool palette to store the Morph Target. Simply click ‘Switch’ and watch your model revert to its previous state, providing you a valuable method for design iterations.
Control Sculpting Intensity with Lazy Mouse
To have more control over sculpting, use the Lazy Mouse feature. This enables smooth and steady strokes with regulated intensity, providing precision in the finer details. Activate this by hitting the ‘L’ key, and adjust the Lazy Smooth and LazyStep according to your needs in the Stroke palette.
Employing Alpha for Detailing
Alphas are grayscale images you use in ZBrush for bump mapping, displacement mapping, and textures. Its application on brushes can add advanced details to your model effectively. Experiment with various alphas and settings to spruce up the textures and details of your 3D sculptures.
Dynamesh for Topology
Dynamesh is a digital-clay method that fluidly rebuilds your model’s topology for dynamic sculpting. This tool is a godsend for concept artists and creative explorers who are not vexed about maintaining their base mesh. Utilize the power of Dynamesh to make seamless changes to your models, allowing creative freedom over the constant need for technically correct topology.

Polypainting for Color
Polypainting offers the ability to paint on a model’s surface without the need for UV maps. By painting directly on your 3D model, you get a more responsive and interactive design experience. From the color palette, choose ‘RGB’ or ‘MRGB’, select your preferred color and simply start painting.
Masking for Focused Sculpting
Masking is a way to protect specific areas of your 3D model during sculpting, transposing, or deforming. Use ‘Ctrl’ combined with brushing to mask areas, ‘Ctrl+Drag’ in empty canvas to remove the mask, and ‘Ctrl+Click’ on canvas to blur the mask. It’s a superb way to sculpt complex structures without affecting the entirety of your model.
Utilizing ZBrush to its full potential can dramatically enhance your 3D modeling prowess. Remember, every professional, once a novice, started by learning the basics and then experimenting with myriad features that this amazing software has to offer. Don’t be afraid to try new maneuvers, explore different methods, and make mistakes. The most beautiful masterpieces often evolve from not just talent, but an understanding of your tools, and the courage to push them and yourself to the limit. Let these tips guide you, but always trust your creativity above all. Happy ZBrushing!